Defender Weapons & Black Belt S Gear
Hello Hunters and welcome to Part 2 of our “Path to Sunbreak” Community Post!
This part is spoiler free, so fear not if you’re looking discover the story of Rise on your own terms!
Now, in this part we’re going to be looking at some optional free gear that’s available to assist you as you settle into Rise, should you wish to use it, kitting out your Palico and Palamute Buddies for the hunt, as well as some handy tips for capturing monsters!
Let’s get stuck in!
Introducing Defender Weapons and Black Belt S Gear!  Suit-up with Black Belt S Gear
The Black Belt S gear is a set of armour that any player can pick-up from the friendly Felyne, Senri the Mailman, in Kamura.
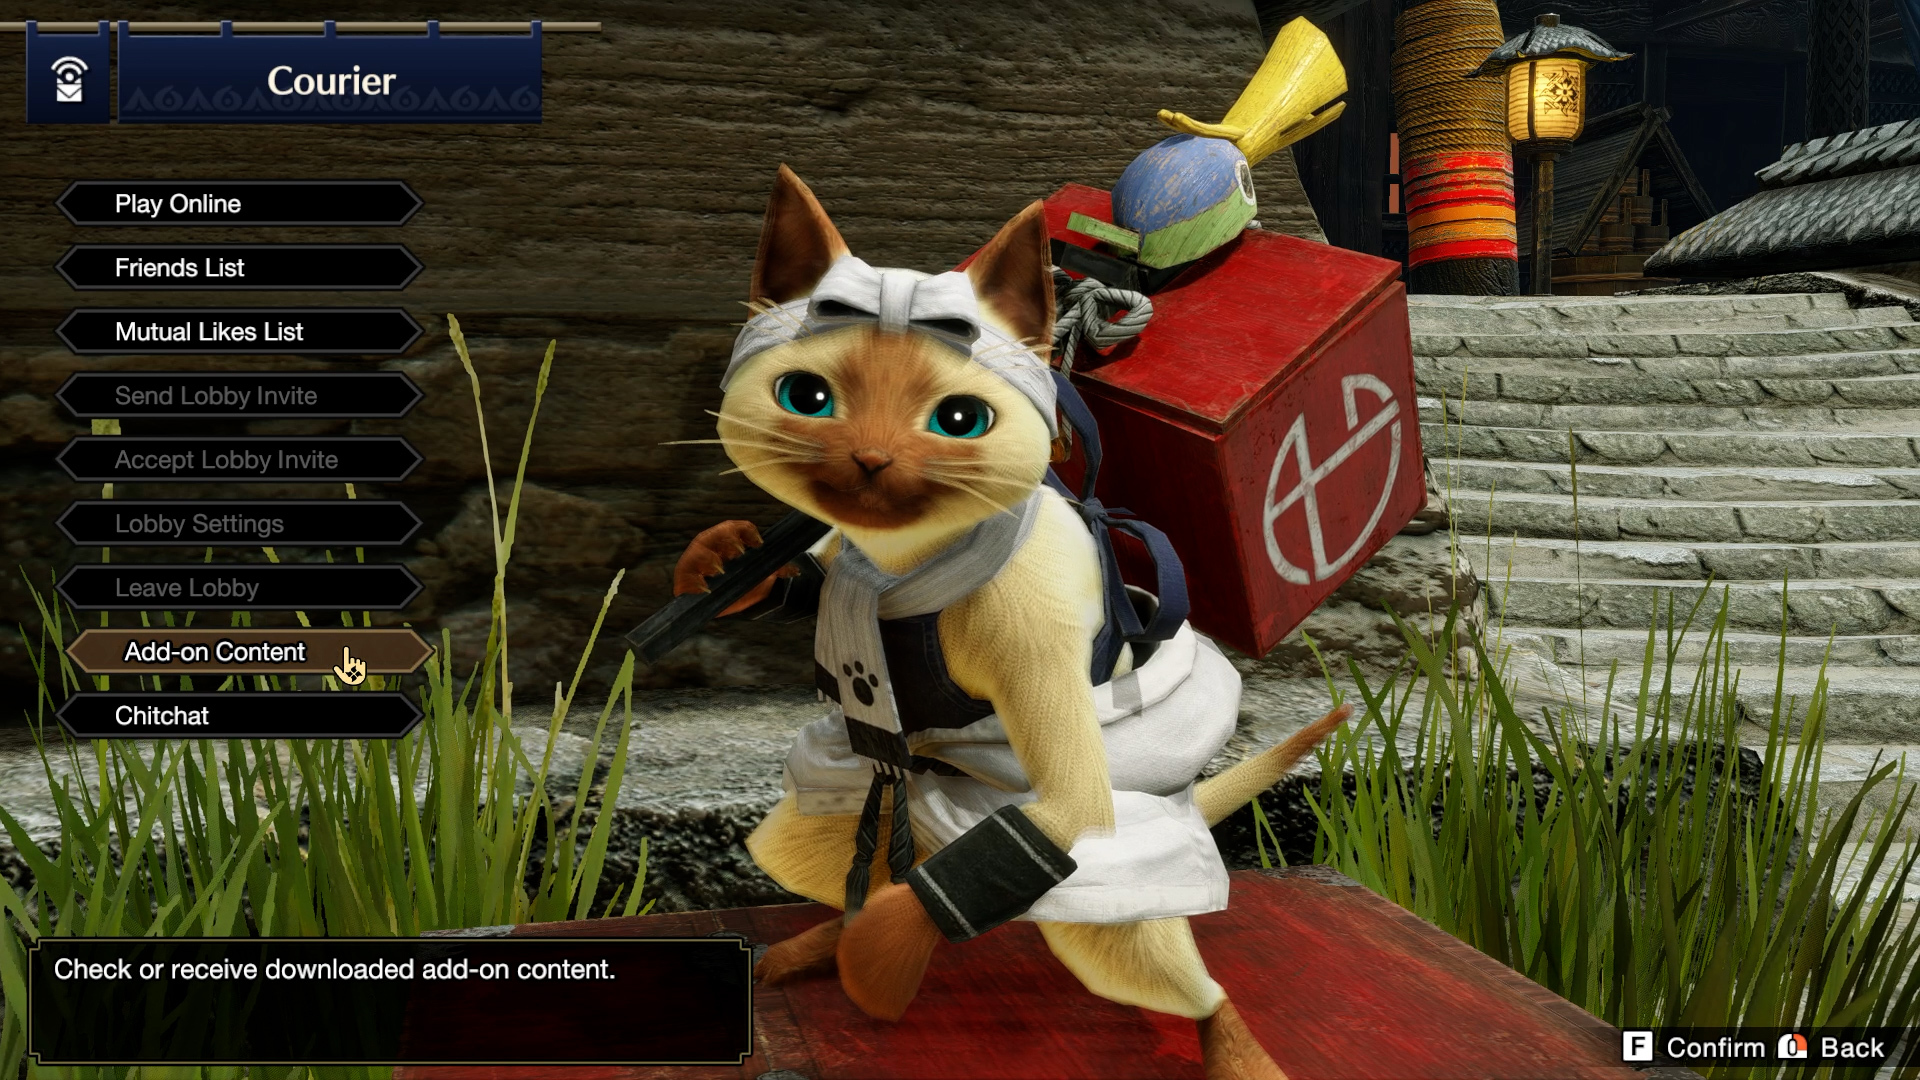
Simply start a conversation with him, select “Add-on content” and then “Accept All”, or seek out the armour in the list of available content.
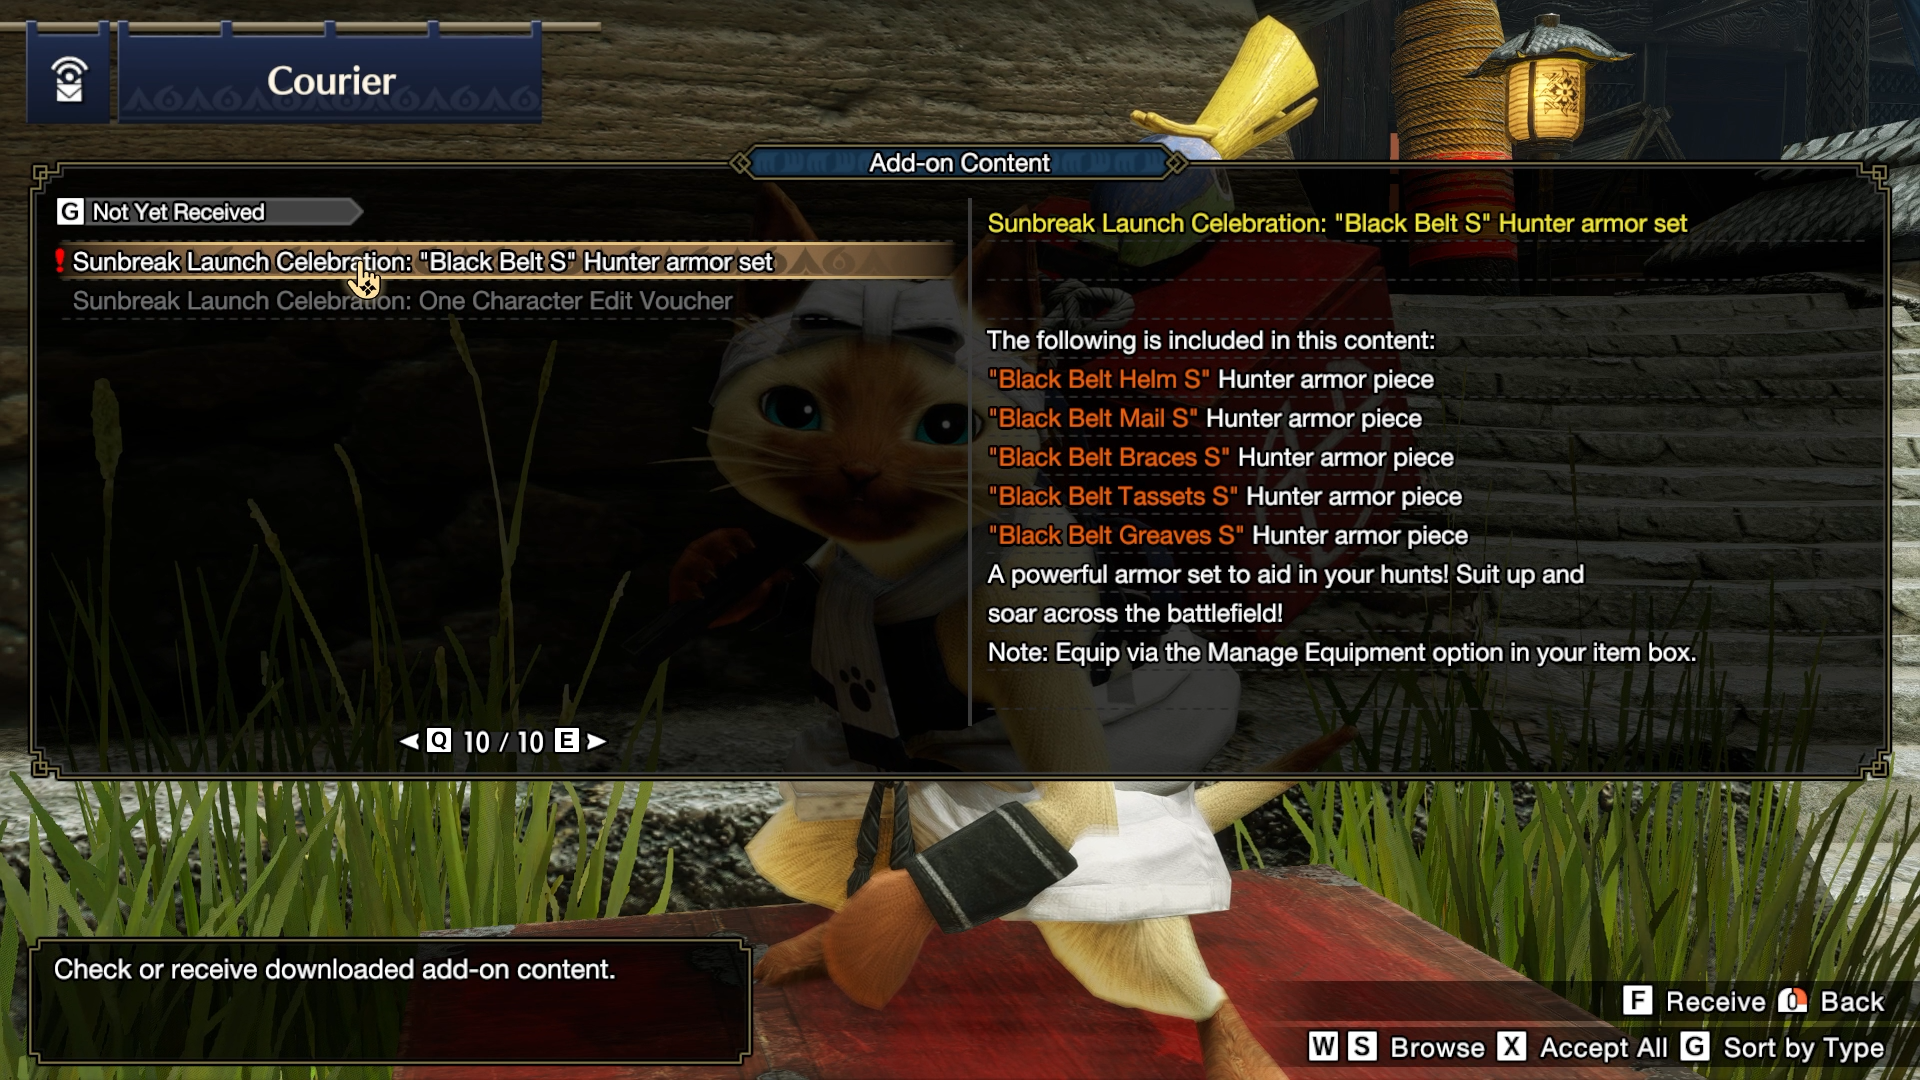
Once done, head over to your item box and you’ll be able to equip this powerful set! Built for use in both Low and High Rank quests, this set boasts 330 defence and comes with a range of offensive armour skills.
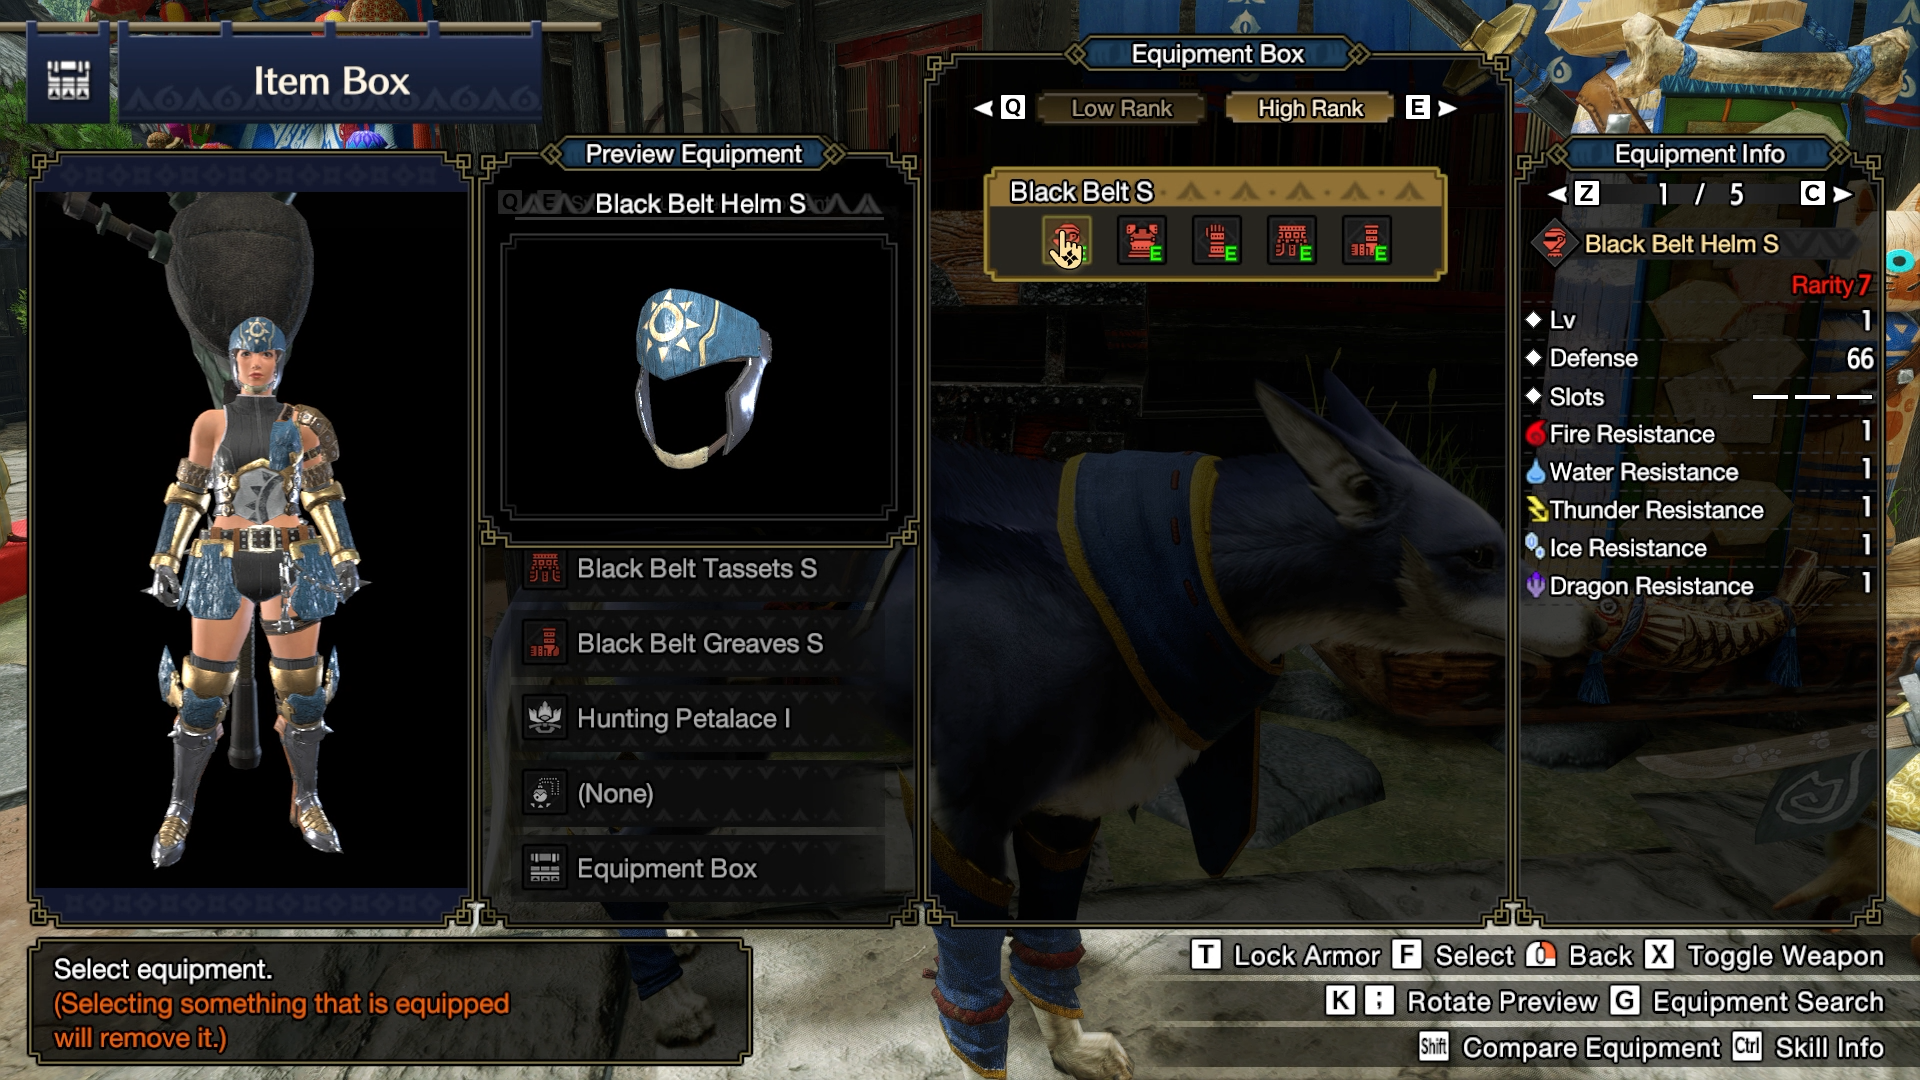
The Black Belt S gear’s individual pieces can be mixed with other sets, so if you’re looking to make a set with specific skills, feel free to experiment as you hunt more monsters and unlock the ability to craft their armour.
(And yes, fashion hunters, this is also available as Layered Armour!)
Grab those Defender Weapons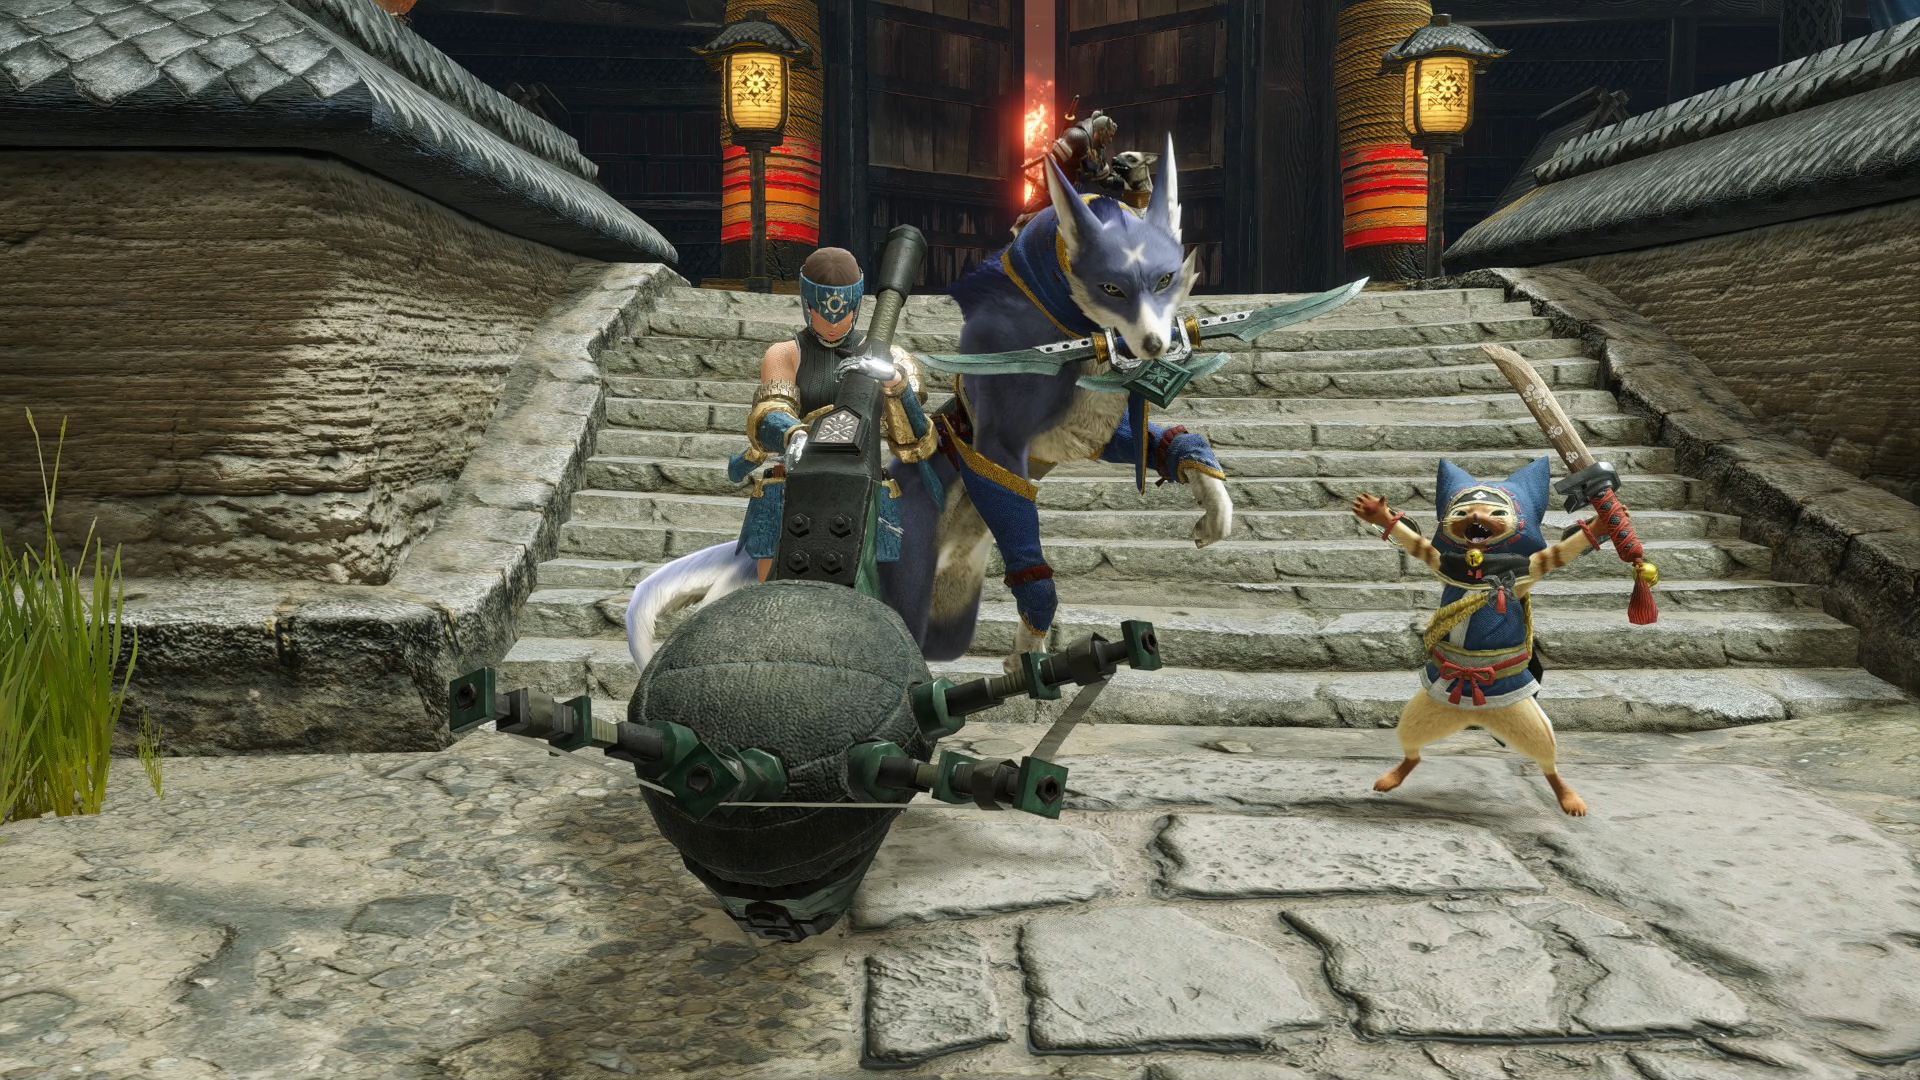
Just like the Black Belt S gear, you’ll also be able to get the Defender Weapons in one bundle from Senri the Mailman!
The Defender Weapons cover all 14 weapon types, so whether you’re a Hammer smasher, Long Sword wielder or nimble Bowgunner, you won’t miss out! These weapons begin stronger that the equivalent starting weapons and can also be upgraded as you progress through the game, further increasing their strength!

The Defender weapons not only serve as a great way to start your quest to save Kamura, but also introduce you to the deep and rewarding gear crafting and upgrade system!
Of course, whilst useful, these weapons are entirely optional, so check them out if you like, or feel free to explore the huge range of weapons you can craft as you progress through the game. From weapons that cause elemental damage and status effects to those focused on raw attack output, there’s plenty of choice to suit your preferred playstyle and capitalise on monster weaknesses!
Some Extra Tips!
Helpful buddies (Support)Don’t overlook the importance of your buddies during a hunt! If you’re playing solo, you can bring up to two buddies with you. Mix and match a Palico and Palamute, or even run with two of the same type of buddy. Remember that in a multiplayer hunt, you can only bring one buddy, so make sure you have your preferred buddy in your primary spot!

Buddy Skills are another key component that will aid you in progressing through the low and high ranks faster. Regardless of which type of buddy you bring; the Knockout King skill is a great choice that will increase the likelihood of stunning and tiring monsters. If you’re looking for a bit of protection from your Palamute, the Guarding Parasol is a nice aid to protect yourself from a few hits.
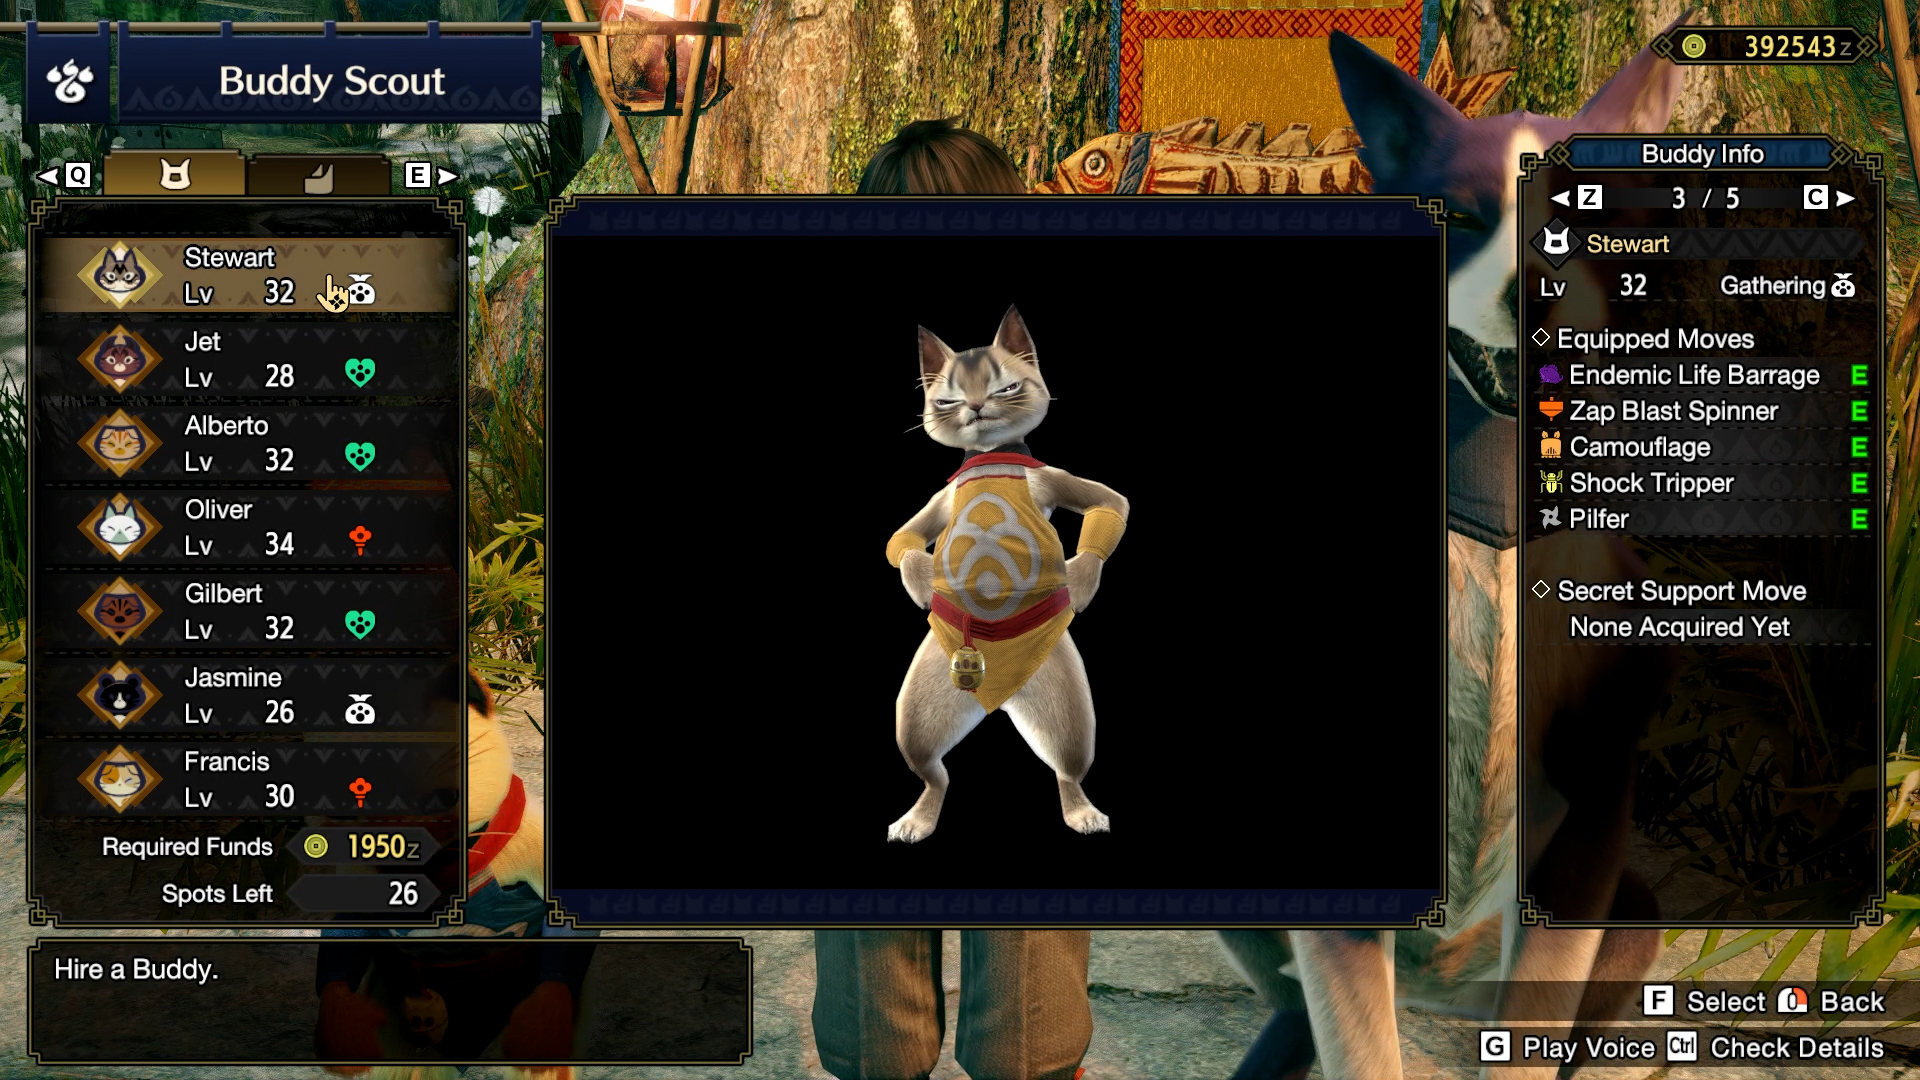
For Palicoes, you have quite a bit of flexibility on what type of buddy to bring with you. On the community team, we’re big fans of Gathering Palicoes thanks to their Endemic Life Barrage and Pilfer skills! Although the results can be somewhat unpredictable depending on what toad is used (Sleep, Paralysis etc), Endemic Life Barrage’s status ailments are helpful in a pinch when taking on tough monsters. Lastly, this support type does what it says…gather more materials, whether that’s items found around the locale, or extra monster parts using the Pilfer skill! And as we know, more loot is never a bad thing!
These are just a few suggestions to get you started, but as with all tips in this guide, feel free to play around with what works best for your preferred playstyle! The Buddy system is flexible and versatile to suit how you want to play, but hopefully these tips give you a good place to start from!
How to capture monstersCapturing a Monster can oftentimes be a quick and sure-fire way to wrap up a quest quickly and get you moving up the ranks quicker! Although you’ll be able to tell a Monster is ready to be captured based on its more sluggish behaviour, the two best ways to tell when it’s time to bring the traps out are when your Palico Buddy mentions the Monster is ready for capture, or when the blue skull-like icon appears below the Monster’s icon in the top right corner.
To capture a Monster, you’ll need to snare them in either a Shock Trap or Pitfall Trap. We recommend always having one of each in your item loadout, just to be sure! Once the Monster is caught in the trap, throw down two Tranq Bombs right next to it to complete the capture.
Keep in mind that some Monster materials can only be obtained by slaying the Monster, and others have different drop rates depending on how you defeat the Monster. If you’re playing in a group, it helps to be on the same page on whether to slay or capture the Monster!
Wrapping Up!
That about does it for our tips, so it’s time for us to set you loose on those Monsters with all the knowledge above. Whether you follow this advice down to the letter or decide to forge your own path to Master Rank, remember to have fun and treat every hunt as a fun learning experience! Before you know it, you’ll be in Elgado and taking on some of those tough challenges in the Citadel.
Good luck Hunters, you’ve got this!
See you in the hunt!
- Monster Hunter Community Team