In Solo™: A Star Wars Story™, we see how Han Solo’s famous claim to have “made the Kessel Run in less than twelve parsecs” holds up. Not only an asset in our favorite smuggler’s bragging repertoire anymore, we introduced Kessel as a playable location in Star Wars™ Battlefront™ II earlier this summer.
Which means that you can delve into the harrowing coaxium mines for yourself. But what should you prepare for?
To find out, we missioned a brave reconnaissance team to this remote and treacherous place of the Outer Rim to survey for intel. What’s its story? How should you adapt to its different areas in combat?
Here’s what they came back with.
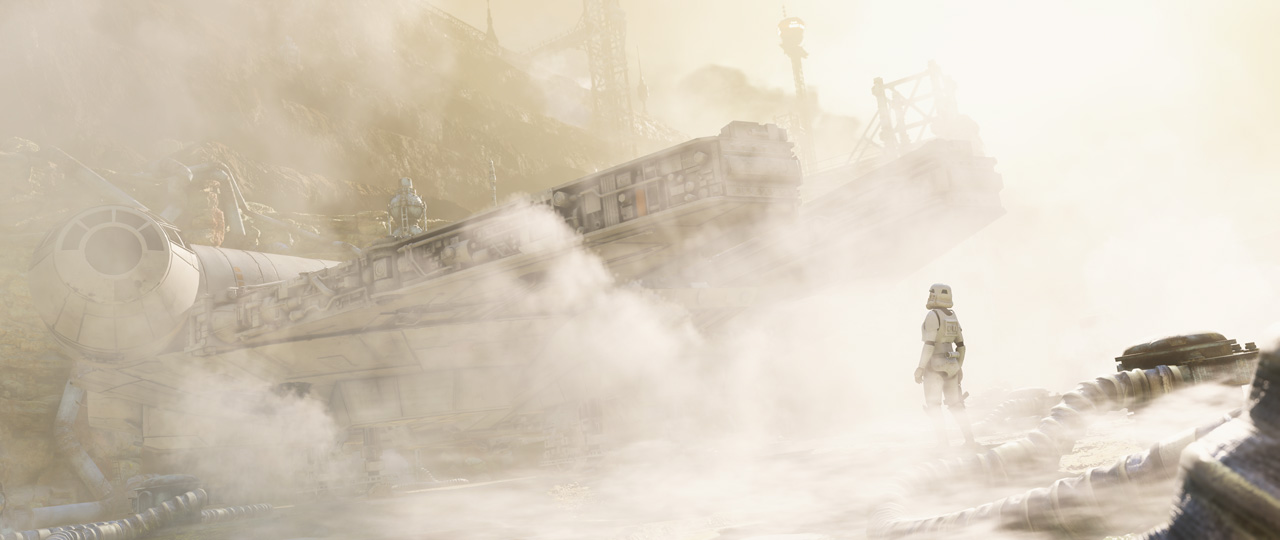
Location name: Kessel – Coaxium Mine
Known for: Its harrowing working conditions and rich natural assets.
Available game modes: Extraction, Blast, Hero Showdown, Heroes vs. Villains, and Custom Arcade.
“The onslaught began when we had made our way to the thermal vault and got the payload moving. Worked up chatter mixed with officers’ orders had barely started over the comms before Imperial troops unleashed their blasters at us. We suffered heavy losses. But somehow, one step at a time, we gained ground. After carrying the payload through what then felt like never-ending tunnels, we were blinded by a light. We had made it to the outlet of the mine! As our eyes got used to the outside, we saw it. Our way off this rock: The Millennium Falcon. Now, we needed to gather our last strength for the final push . . .” – Unnamed Rebellion Soldier, as told after a game of Extraction.
The Mines
With a characteristic triangular shape, the winding mines burrow deep into the crust of Kessel along with pipes funneling hazardous liquid. One can only imagine the harrowing working conditions of the Kessel mines, with the properties secured by cameras, barred gates, and Pyke Sentinels at the ready to crush any efforts of escape.
Naturally nurturing close-quarters combat, there are certain classes and abilities that might increase your chance of survival while in the tunnels. Using the Assault class with a high-rate fire weapon such as the CR-2 is a good start, with the Vanguard ability increasing your firepower even more in close-range. Giving you a tactical advantage, the Scan Dart ability will conveniently warn you of enemies sprinting around the corner in this area’s twists and turns.
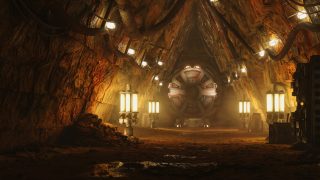
Image captured by @BFCaptures
The Officer class does have a few suiting tricks up its sleeve, as well. If you find yourself dying a lot from explosives thrown into the cramped corridors, the Defuser ability will counter any incoming explosives and stuns in its area-of-effect. Placing a Squad Shield in the tight hallways will effectively protect you and your team as you’re pushing through, too.
Hopefully, this will help you earn more Battle Points, and, by doing so, enable you to call in the Wookiee Warrior if you’re on the Rebel side – or if playing as an Imperial, the Death Trooper. They’re incredibly powerful Enforcers, with their Thermal Detonator or Sonic Imploder being serious tools of destruction to clear up bottlenecks.
When navigating the tunnels, be sure to use alternate routes which the enemy might not expect to flank for surprise attacks. One thing is for sure: ready yourself for some cranked up intensity and action when entering the mines of Kessel.
The Thermal Vault
The unrefined coaxium mined on Kessel is extremely volatile and rapidly degrades if allowed to heat. As such, this extremely precious resource is stored within a thermal vault located deep within the mines.
In a game of Extraction, this is the spot where any illicit attempt at extracting the valuable goods would start. Just be prepared to run the gauntlet once the payload starts moving.
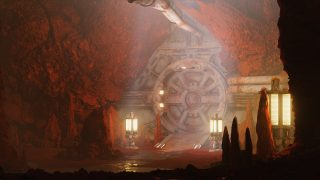
Image captured by @BFCaptures
The Landing Pad
Greeted by fumes, radiation, and pools of toxic fluid, landing the Millennium Falcon in the mining quarries of Kessel should, by its own merits, be considered an achievement. A complex network of pipes covers the surface of the coaxium mine, along with security towers and turrets aplenty. And, coupled with the fact that it was operated by the notorious Pyke Syndicate, only a fool (or potentially a top-of-the-class smuggler) would attempt to escape the premises with stolen goods.
Of course, this shouldn’t stop you from trying.
With several entry-and-exit points and a cliffside overlooking the landing pad, this open space invites different kinds of combat tactics next to the mine’s more confined interiors. The landing pad provides some good line-of-sight for you to get long-range eliminations with the Specialist class.
The Officer, Wookiee Warrior, and Death Troopers are all potent alternatives here, and keep in mind that the highly-mobile Rocket Trooper thrives in open air.
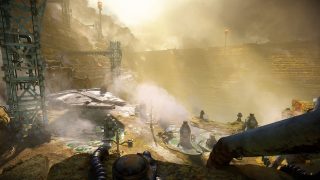
The Control Room
From the control room, slaves sentenced to work the coaxium mines were overseen by the Pyke Syndicate director and its hired guns. With security cameras covering every inch of the establishment, any misstep from the enslaved workers here was usually discovered and then swiftly corrected by the guards.
Strategically placed between the landing pad and the tunnels, witty players might utilize this gateway to flank their enemies, instead of rushing through the mine’s main entrance.
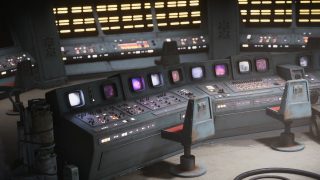
Image captured by @BFCaptures
This article is part of our series, “Exploring the Locations of Star Wars Battlefront II,” giving additional context and gameplay tips for each location available in the game. Check back regularly to read up on another corner of the galaxy and remember to keep an eye on this space for full coverage on Star Wars Battlefront II.
–Daniel Steinholtz (Follow Daniel on Twitter @dsteinholtz)
Also, sign up today to receive the latest Star Wars Battlefront II news, updates, behind-the-scenes content, exclusive offers, and more (including other EA news, products, events, and promotions) by email, and be sure to follow EA Star Wars on Twitter, Facebook, and Instagram, or join the discussion on the official forums.