over 1 year
ago -
MH Community
-
Direct link
Hey hunters,
In lieu of our game walkthroughs, this week’s installment of the Return to World community blogs features some of our top tips and tricks essential to a successful hunt in Monster Hunter: World. These core tips will prove useful even as you venture beyond the early game and start taking on tougher challenges.
The More You Know!
Dung Pods
Let’s talk dung. After a monster has done its business, it’ll leave dung in certain areas on the map. Now you may be wondering, why would I ever want to pick that up? Dung allows you to create dung pods, which are essential for getting monsters away from you. This is perfect when you’re hunting one monster and end up getting interrupted by another that you’re not interested in hunting. Keep yourself from being in the middle of a Turf War and deploy a well-placed Dung Pod to stay focused on your prey!
Mini-map Monster Status
Aside from observing the monster’s behavior, you can get a sense of their state based on their eye icon in the mini-map. When the monster icon is yellow, it may be in combat but not targeting your directly. When the icon is red, the monster is targeting you and will be exhibiting more aggressive behavior, making it difficult to mount. When the icon is flashing red, the monster is enraged and cannot be mounted without taking damage. It will also deal out extra damage.
Lastly, the skull icon next to the monster means it has low health and can be captured. More on that in the next section…
Capturing Monsters
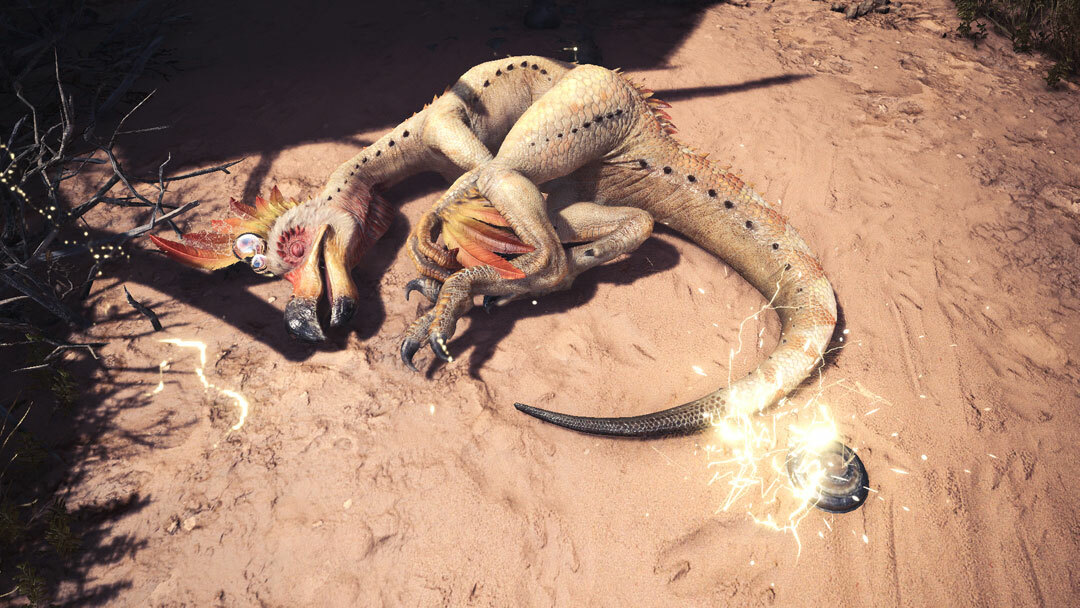
If you’re seeing the skull icon on the monster’s icon in the mini-map, it’s ready to be captured. To capture a monster, you’ll want to deploy either a Shock Trap or Pitfall Trap and lure it to just the right spot. Once it’s caught in the trap, get close to the monster, and throw down two Tranq Bombs in quick succession. The monster will be captured, and the quest will be completed!

Keep in mind that if you’re playing multi-player, it might be helpful to ask your hunting party if they would like to slay or capture the monster, since they can offer different rewards based on your chosen method. There are also some quests later on that specify only to slay or capture the monster, so make sure you double check the quest details to avoid heartbreak.
Item Loadouts
Creating good habits with your items and loadouts at the start of your hunting journey will pay off in the long run. Every hunter will have their own personal item loadout that works best for them. Starting off with essentials like Potions, Mega Potions and Max Potions will ensure you always have enough healing to get out of a sticky situation.
We recommend taking some of the items we listed in the tips above, like Dung Pods and traps for capturing monsters. Additionally, Large Barrel Bombs are perfect for dealing big damage when the monster is asleep. Flash pods are another great item that blinds an enemy, which can help create key openings for attacks, or interrupt them from unleashing a deadly strike.
Once you’ve got all your items set, head to the Item Box, select Manage Items, Item Loadouts, and register your loadout. You can have up to 80 Item Loadouts, which should be more than you’ll ever need saved at one time.
Radial Menu
Your Radial Menu can also be saved separately from your Item Loadout. Setting up your menu just right helps you build muscle memory to quickly select the right item in your time of need. We recommend having your most frequently used items such as potions and rations on your first menu, and using the other menus for helpful, but less used items such as buffs and capture tools.
Don’t forget, by using your Whetstone from the Radial Menu, you can sharpen your weapon without needing to sheathe it. Every second counts!
SOS Flares
Don’t ever be afraid to fire an SOS Flare if you need some help on a quest! These allow other players to join your quest and help with a hunt. You can find it in your Start Menu under the “Quest” category.

Keep in mind that you can’t always send out an SOS, especially if it’s your first time discovering a certain monster. The game will clearly communicate when you can and can’t send one out.
Claim your Add-Ons!
Even if you’re brand new to Monster Hunter: World, plenty of free add-ons featuring helpful items and other bonuses are available to redeem. Head to Your Room and speak to the Housekeeper to claim all of your bonuses!
That’s all our tips for now, but we’ll be back with more in the future!
Quest Complete – We’ll See you next time!
Next Return to World Stream
As a reminder, we’re taking a short break from the Return to World streams to recharge and get ready for the hunts to come in 2024.

Monster Hunter Twitch[www.twitch.tv]
Monster Hunter YouTube
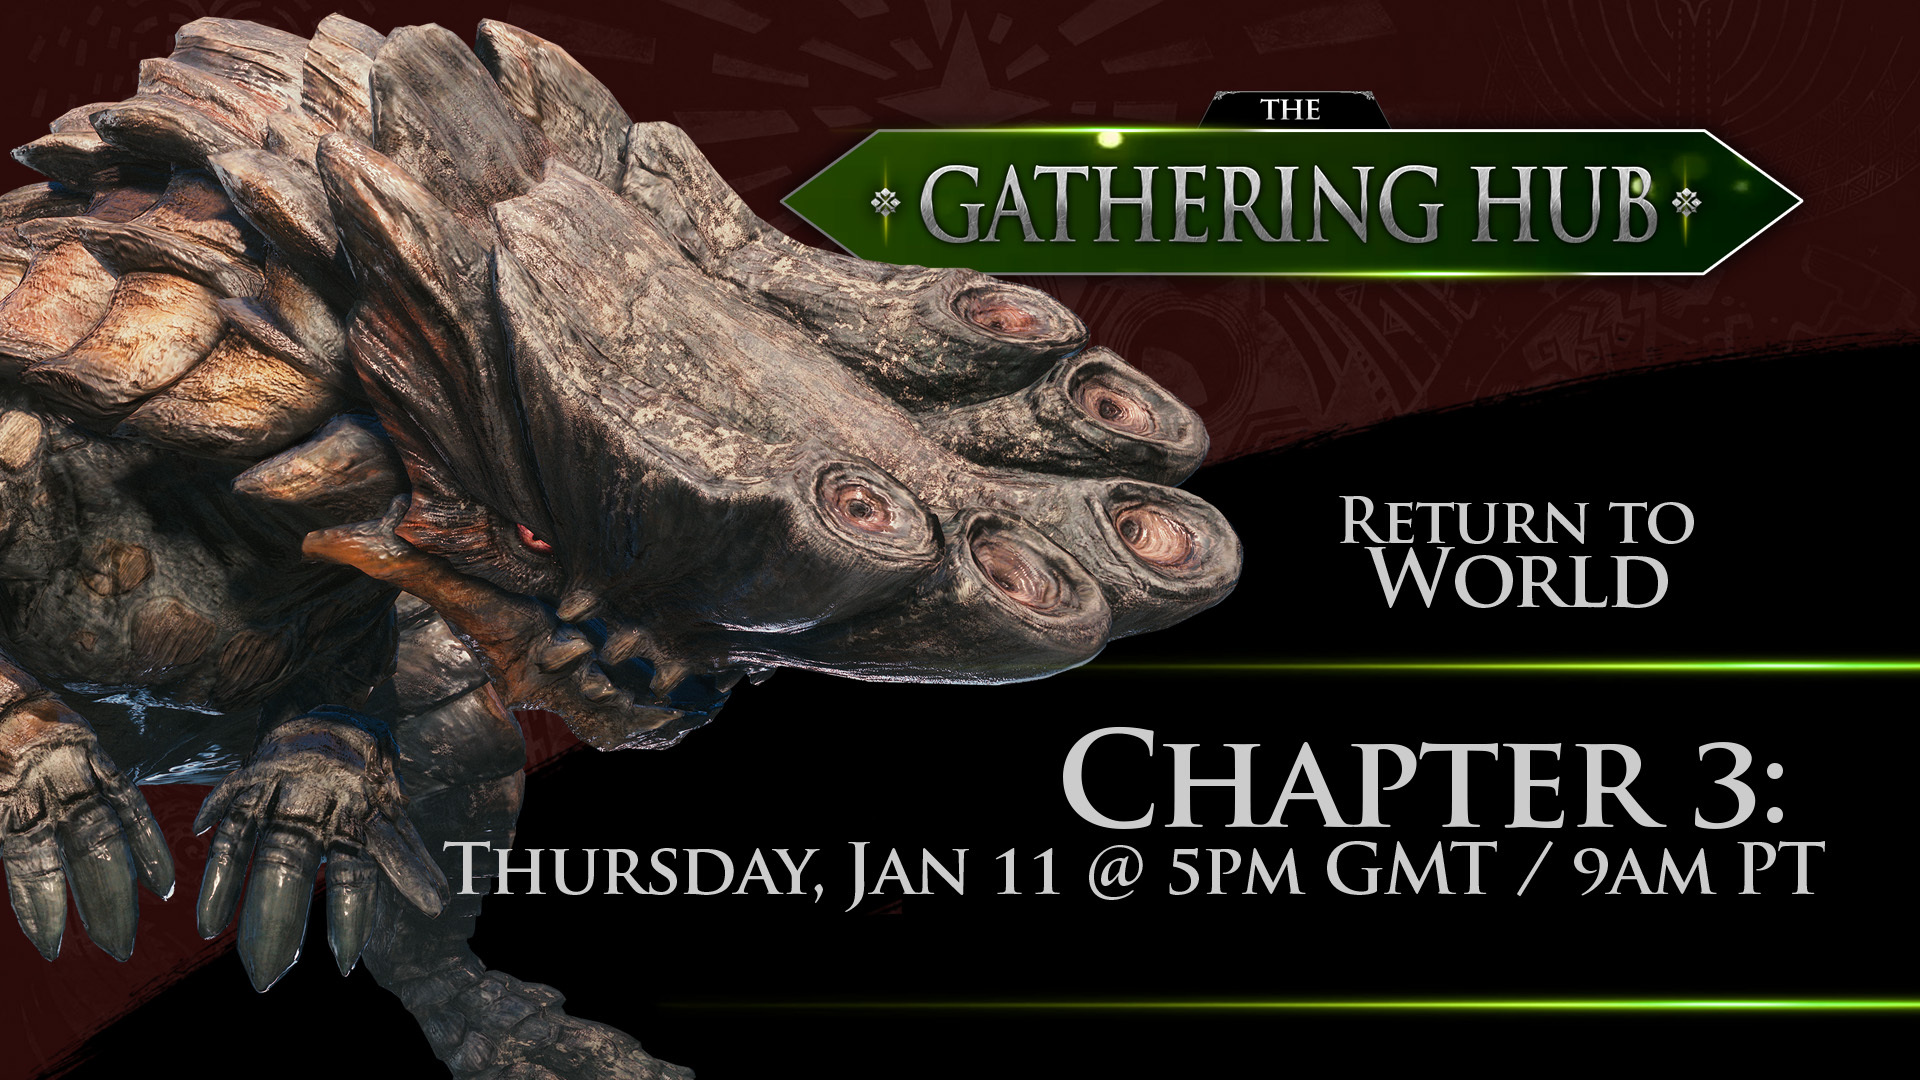
Our next stream will take place on January 11, 2024, where we’ll be headed to the Wildspire Wastes for the first time and taking on Barroth and Jyuratodus. We’ll also be back with our regularly scheduled companion walkthrough blog, so don’t miss it!
See you in the hunt!
- The Monster Hunter Community Team
In lieu of our game walkthroughs, this week’s installment of the Return to World community blogs features some of our top tips and tricks essential to a successful hunt in Monster Hunter: World. These core tips will prove useful even as you venture beyond the early game and start taking on tougher challenges.
The More You Know!
Dung Pods
Let’s talk dung. After a monster has done its business, it’ll leave dung in certain areas on the map. Now you may be wondering, why would I ever want to pick that up? Dung allows you to create dung pods, which are essential for getting monsters away from you. This is perfect when you’re hunting one monster and end up getting interrupted by another that you’re not interested in hunting. Keep yourself from being in the middle of a Turf War and deploy a well-placed Dung Pod to stay focused on your prey!
Mini-map Monster Status
Aside from observing the monster’s behavior, you can get a sense of their state based on their eye icon in the mini-map. When the monster icon is yellow, it may be in combat but not targeting your directly. When the icon is red, the monster is targeting you and will be exhibiting more aggressive behavior, making it difficult to mount. When the icon is flashing red, the monster is enraged and cannot be mounted without taking damage. It will also deal out extra damage.
Lastly, the skull icon next to the monster means it has low health and can be captured. More on that in the next section…
Capturing Monsters
If you’re seeing the skull icon on the monster’s icon in the mini-map, it’s ready to be captured. To capture a monster, you’ll want to deploy either a Shock Trap or Pitfall Trap and lure it to just the right spot. Once it’s caught in the trap, get close to the monster, and throw down two Tranq Bombs in quick succession. The monster will be captured, and the quest will be completed!

Keep in mind that if you’re playing multi-player, it might be helpful to ask your hunting party if they would like to slay or capture the monster, since they can offer different rewards based on your chosen method. There are also some quests later on that specify only to slay or capture the monster, so make sure you double check the quest details to avoid heartbreak.
Item Loadouts
Creating good habits with your items and loadouts at the start of your hunting journey will pay off in the long run. Every hunter will have their own personal item loadout that works best for them. Starting off with essentials like Potions, Mega Potions and Max Potions will ensure you always have enough healing to get out of a sticky situation.
We recommend taking some of the items we listed in the tips above, like Dung Pods and traps for capturing monsters. Additionally, Large Barrel Bombs are perfect for dealing big damage when the monster is asleep. Flash pods are another great item that blinds an enemy, which can help create key openings for attacks, or interrupt them from unleashing a deadly strike.
Once you’ve got all your items set, head to the Item Box, select Manage Items, Item Loadouts, and register your loadout. You can have up to 80 Item Loadouts, which should be more than you’ll ever need saved at one time.
Radial Menu
Your Radial Menu can also be saved separately from your Item Loadout. Setting up your menu just right helps you build muscle memory to quickly select the right item in your time of need. We recommend having your most frequently used items such as potions and rations on your first menu, and using the other menus for helpful, but less used items such as buffs and capture tools.
Don’t forget, by using your Whetstone from the Radial Menu, you can sharpen your weapon without needing to sheathe it. Every second counts!
SOS Flares
Don’t ever be afraid to fire an SOS Flare if you need some help on a quest! These allow other players to join your quest and help with a hunt. You can find it in your Start Menu under the “Quest” category.

Keep in mind that you can’t always send out an SOS, especially if it’s your first time discovering a certain monster. The game will clearly communicate when you can and can’t send one out.
Claim your Add-Ons!
Even if you’re brand new to Monster Hunter: World, plenty of free add-ons featuring helpful items and other bonuses are available to redeem. Head to Your Room and speak to the Housekeeper to claim all of your bonuses!
That’s all our tips for now, but we’ll be back with more in the future!
Quest Complete – We’ll See you next time!
Next Return to World Stream
As a reminder, we’re taking a short break from the Return to World streams to recharge and get ready for the hunts to come in 2024.

Monster Hunter Twitch[www.twitch.tv]
Monster Hunter YouTube
Our next stream will take place on January 11, 2024, where we’ll be headed to the Wildspire Wastes for the first time and taking on Barroth and Jyuratodus. We’ll also be back with our regularly scheduled companion walkthrough blog, so don’t miss it!
See you in the hunt!
- The Monster Hunter Community Team